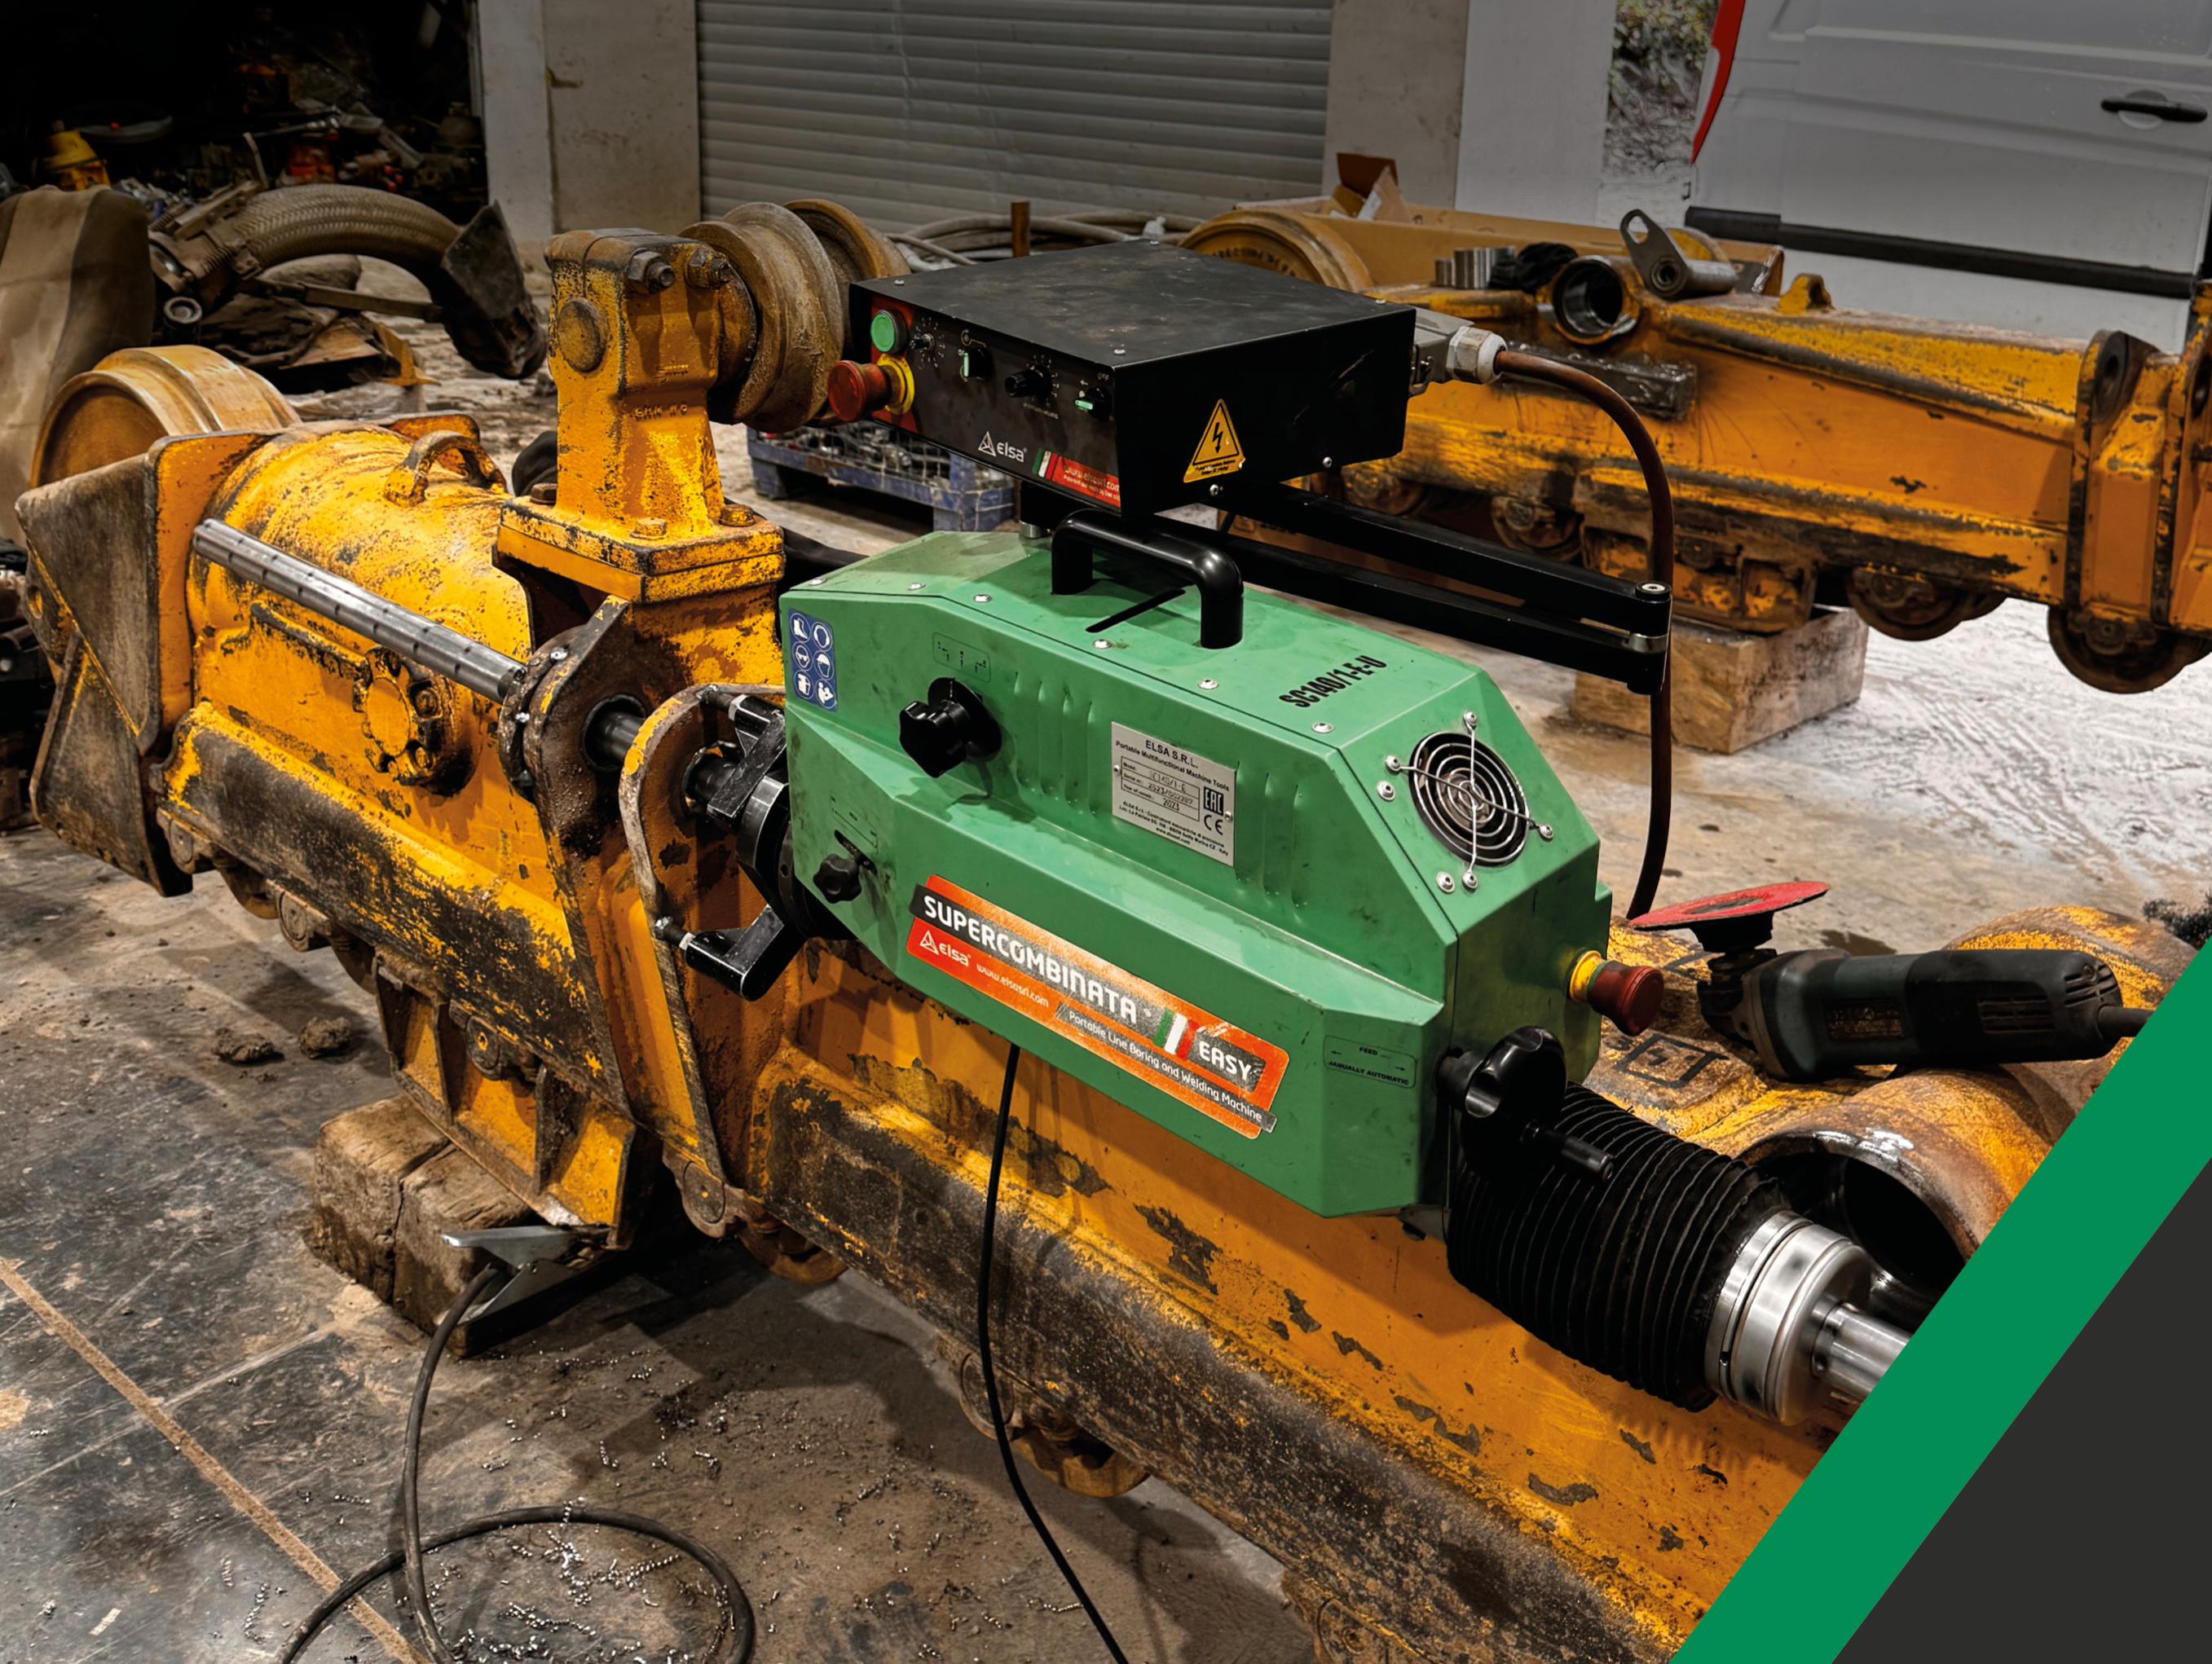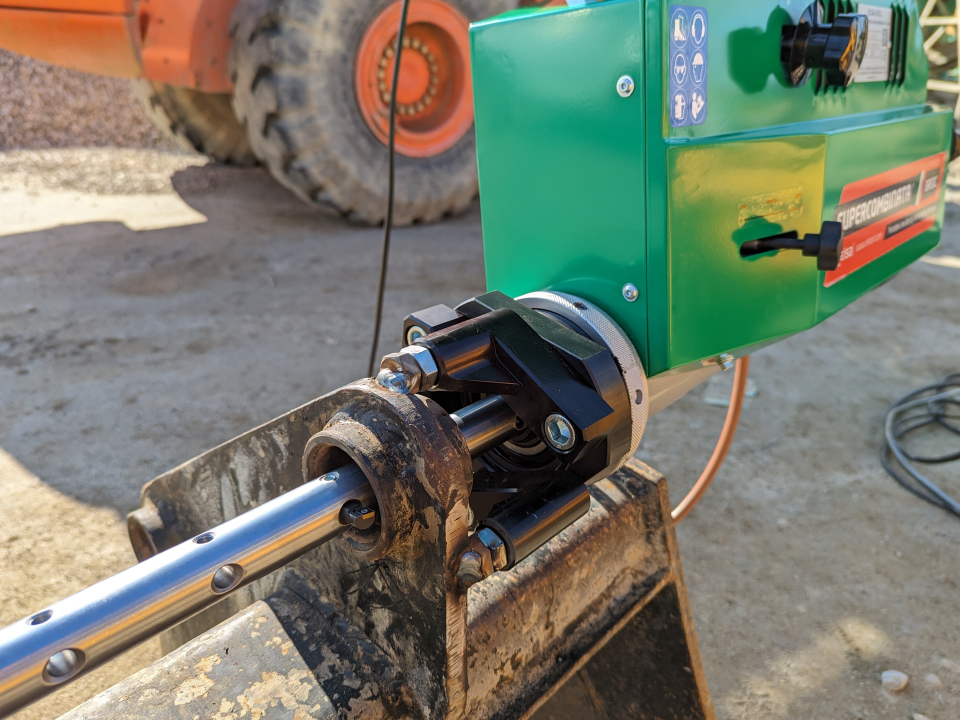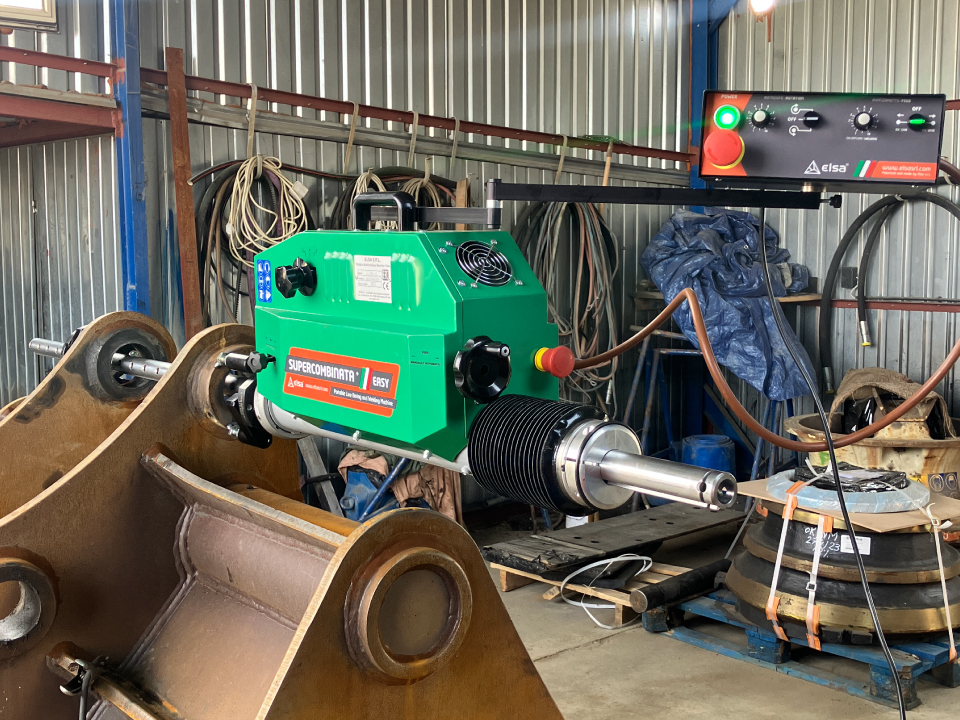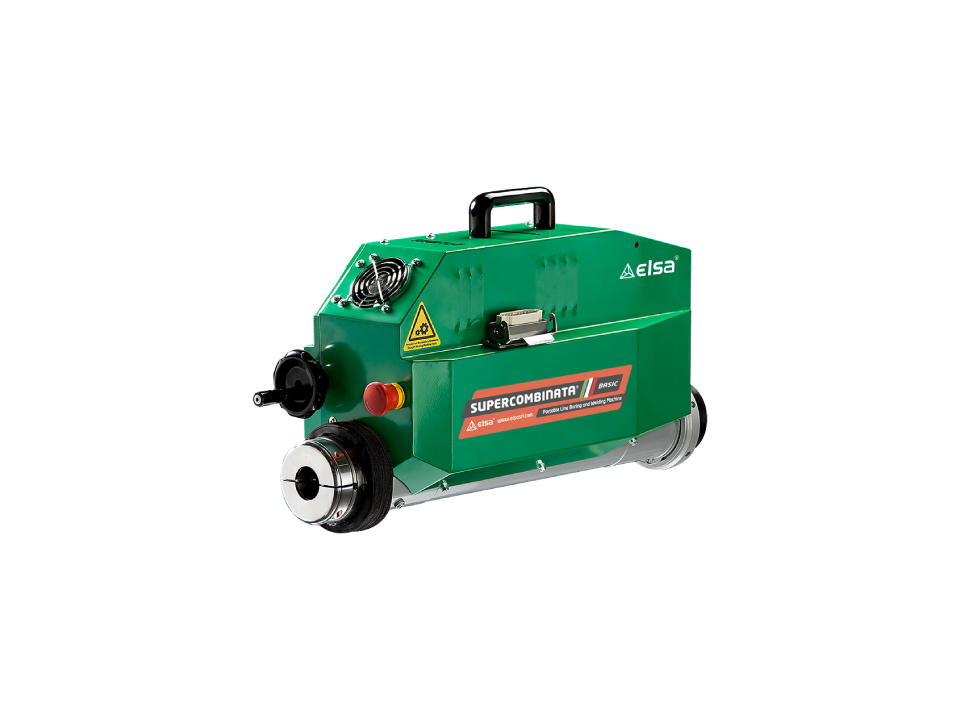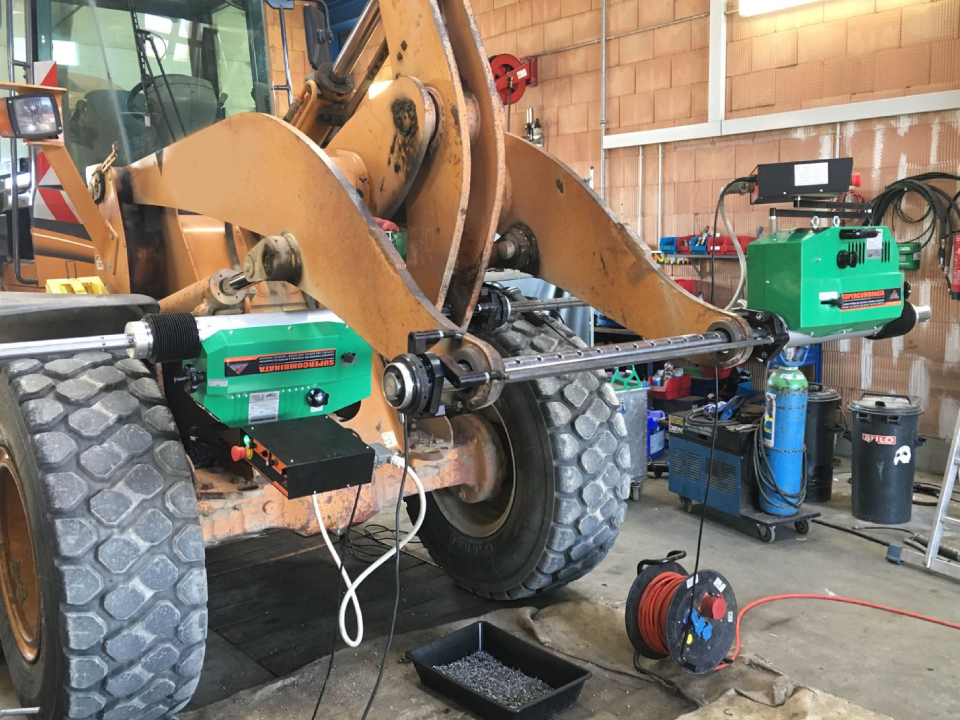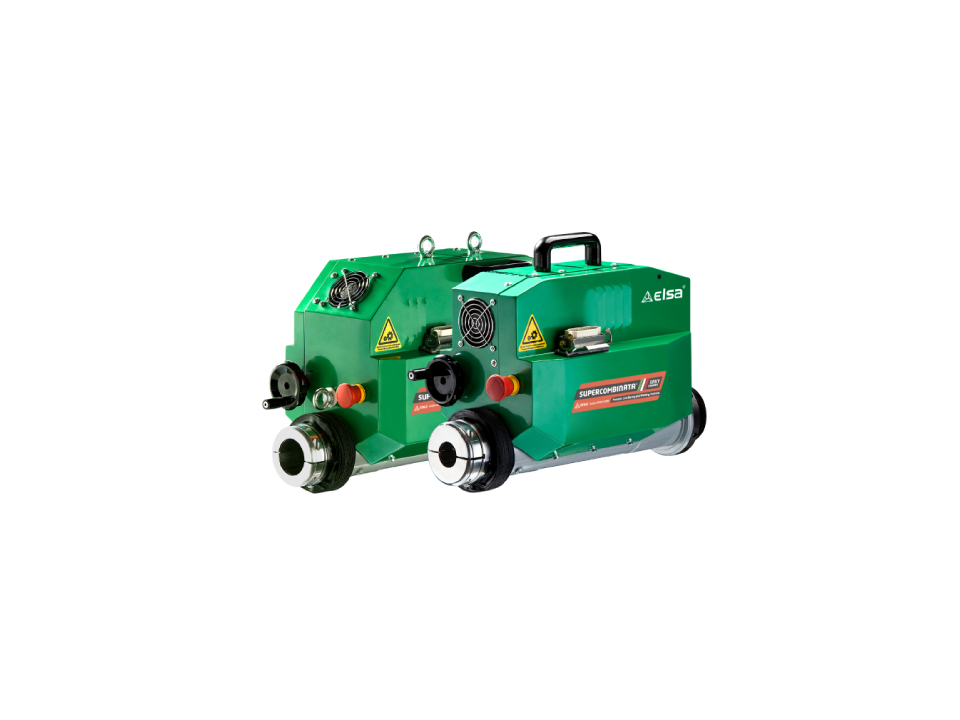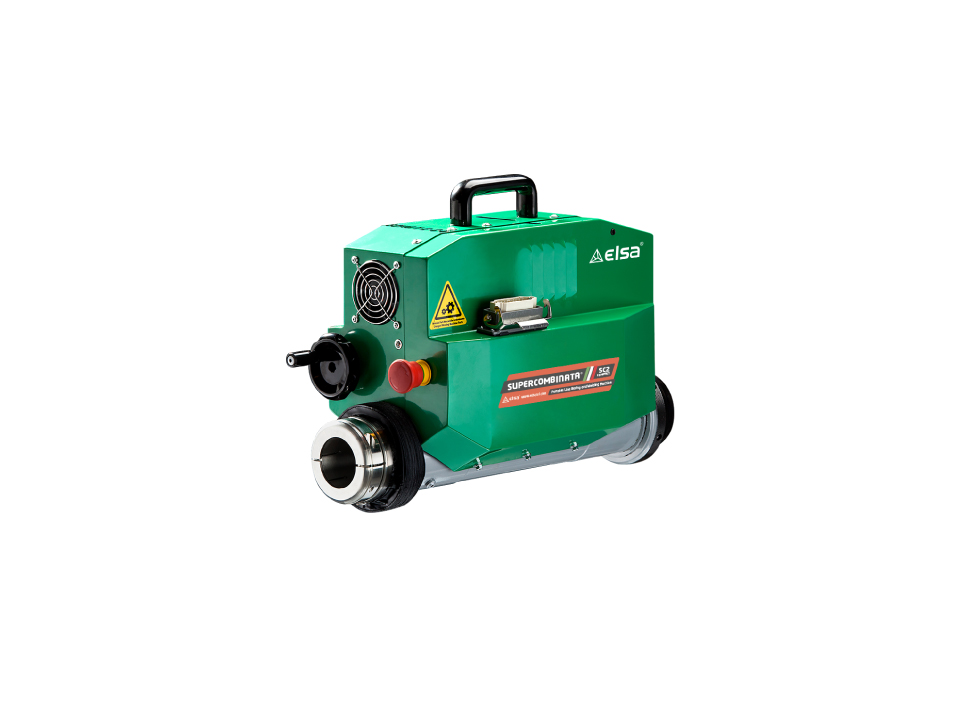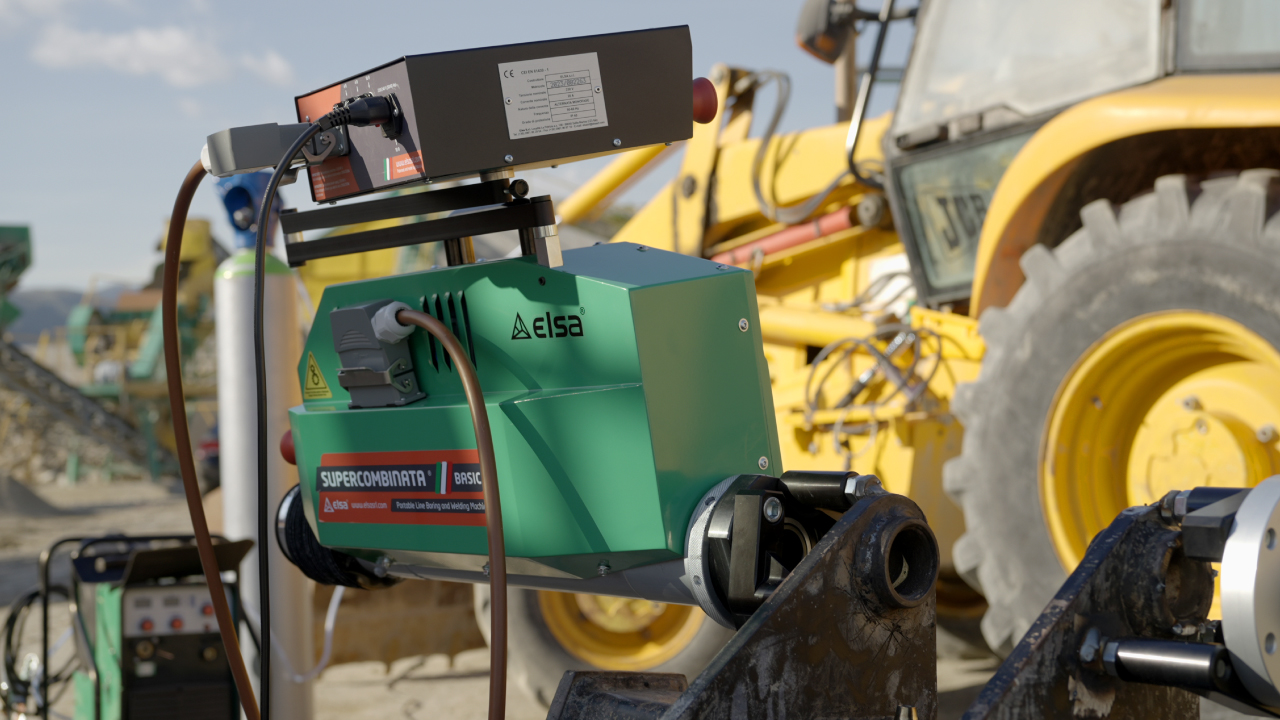
The Supercombinata BASIC is Elsa’s new answer for the earthmoving sector. In this case study the boring machine was used on-site to repair the bucket of a JCB back excavator.
Thanks to its small size and extreme versatility and precision, SP Centro Edile Srl has been able to carry out the processing directly on-site reducing time and costs compared to a conventional repair.
The users
Sp Centro Edile is a company that produces, pumps and transports concrete and sells building materials. The company has its own concrete plant and is engaged in the production of inert materials in the municipality of Andali (Catanzaro, Italy). The repair department of the factory has repaired the bushings of a JCB rear excavator in its own workshop.
Solution and development
For the reparation the company SP Centro Edile decided to use following tools:
- Elsa Supercombinata BASIC
- Optional BASIC Kit 250 for overlay welding
- Centering kit for through holes
- Boring bar Ø 30 x 1800 mm.
The diameter of the hole to be repaired was 48.5 mm, let’s see together step by step how this repair has been developed.
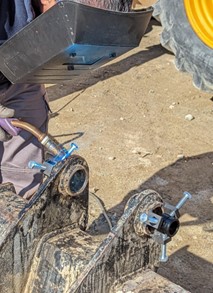
1. Centering of the boring bar (only 15 Minutes)
Before starting the welding work, the surface was cleaned. The centering was done in traditional way, by welding the corresponding ELSA centering kit.
It should be emphasized that the welding mode was preferred over other centering types, as working with this centering kit ensures higher precision for further processing.
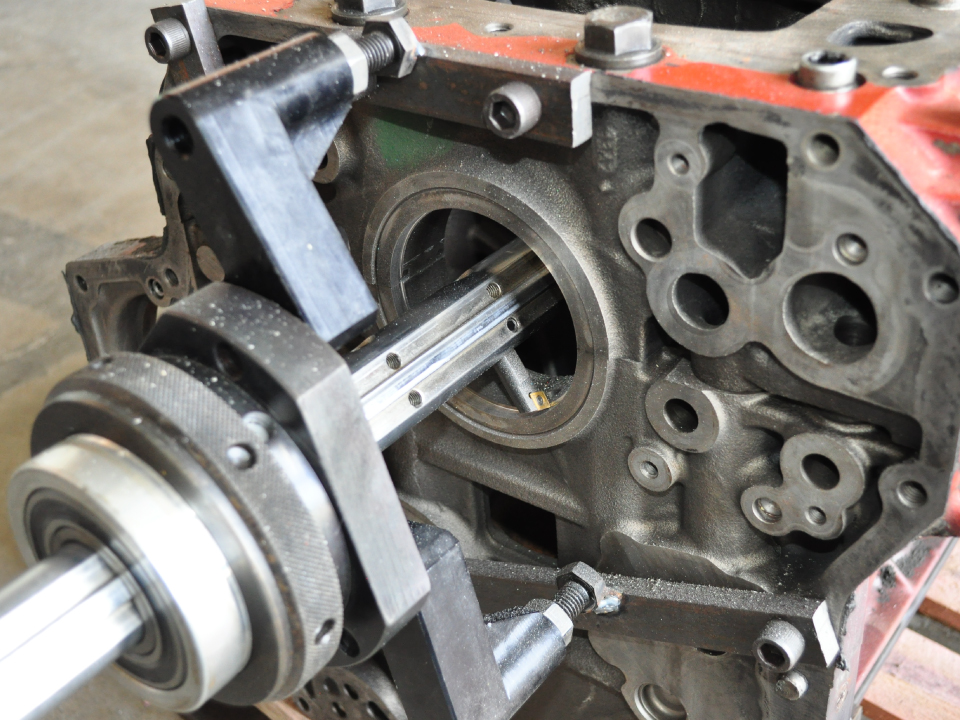
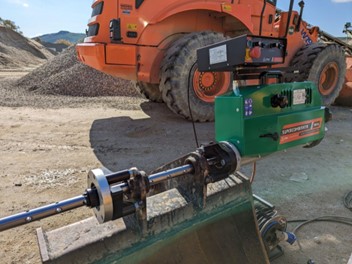
2. Machine assembly ready to go (only 19 Minutes)
After centering, the brackets were positioned and welded on by a fillet weld according to DIN EN 1993 (Eurocode 3). The machine was then set up, locked through the threaded ring and the boring bar was inserted.
The appropriate tool holder required for machining was inserted and fastened in one of the bores of the boring bar.
Before starting the work, the boring bar was rotated by hand to check the correct positioning of the tool holder.
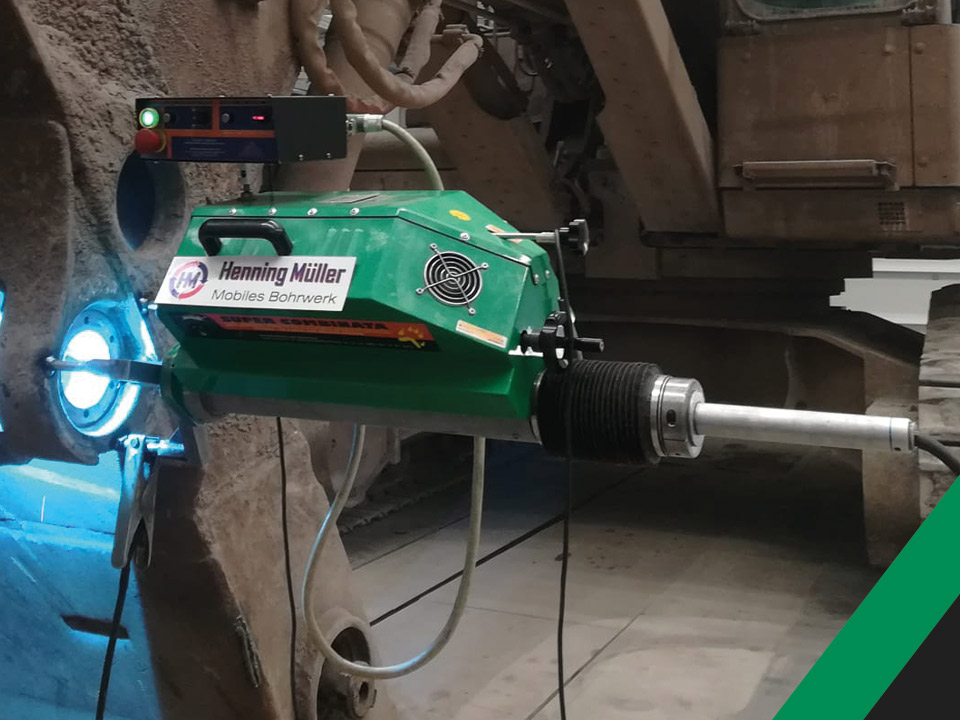
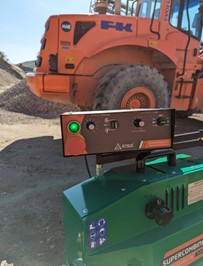
3. Installation of the electronic control unit (only 1 Minute)
Once the machine was attached to the machine holder, the control unit was installed on the corresponding holder.
After connecting the cable between the machine and the control unit, the machine and the control unit could be connected to the power supply.
The advantage of using an electronic control unit
Through an unidirectional DC controller, the electronic control unit controls the drives of the machine by regulating the speed and direction of rotation, and that of the feed of the machine. Thanks to the few and intuitively recognizable operating switches, the user was able to adjust the various parameters quickly and easily.
4. Restoration of the concentricity of the hole (only 10 Minutes)
After completion of all the work related to the assembly of the machine and the control unit, the user performed the restoration of the concentricity of the hole by boring to eliminate any ovalization and residues of oily materials.
With this machining, the diameter of the hole was increased and for this reason the overlay welding was carried out.
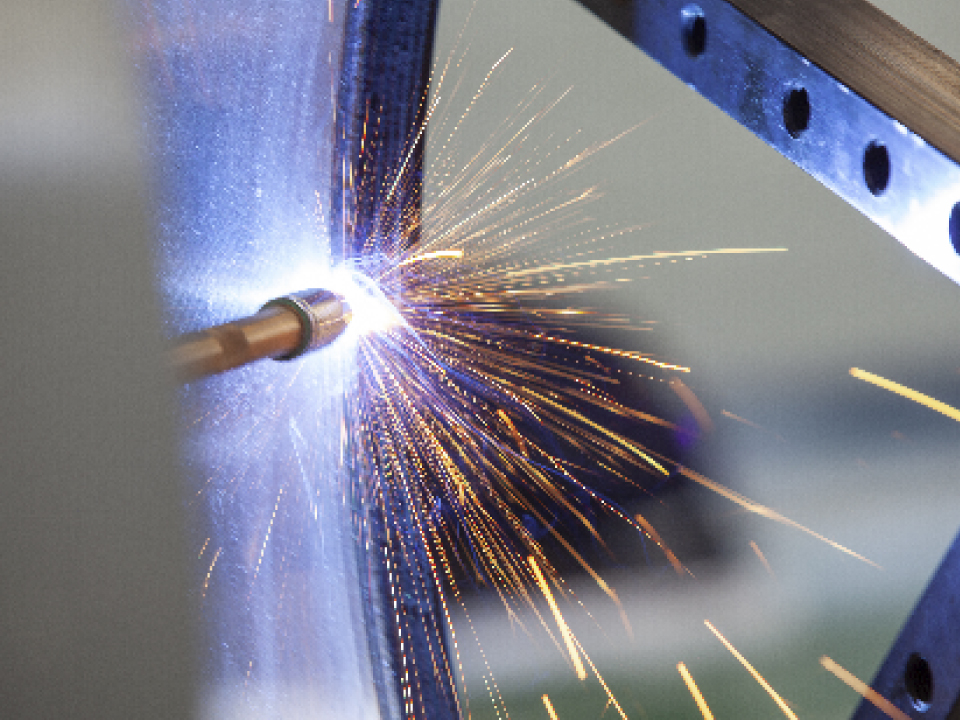
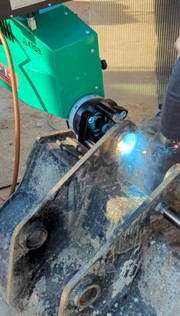
5. Overlay welding (only 20 Minutes)
The portable line boring machine BASIC was equipped with the optional kit BASIC 250. After setting the correct parameters, the welding application phase was triggered by actuation of the welding lever, which sets the automatic synchronization of the rotation with the feed movement.
During the overlay welding process in which the welding lance applies material on the machined surface, the previously set parameters could be subsequently changed by the potentiometer provided for this purpose.
The welding operation was accompanied by an even noise, which confirms correct processing. The result was a uniformed weld bead without overlaps and interruptions.
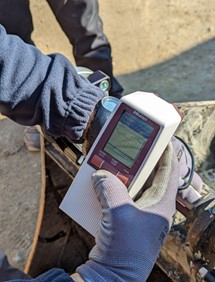
6. Roughing and measurement (only 18 Minutes)
After the overlay welding phase, a roughing phase was carried out. As explained above, the boring bar and the tool holder were reinstalled. After the various parameters such as the speed of the boring bar and the feed rate were pre-set, it was possible to spindle out again. Rough-turning was carried out with a suitable engine speed, calculated in m/min, depending on the material in connection with the correct cutting speed. After this phase, the machined hole was measured to verify the obtained diameter and the surface roughness.
7. Finishing (only 15 Minutes)
Once the roughing phase was completed, the finishing process was carried out using the same procedure as for the roughing phase, with the difference that a higher speed is achieved due to a differently selected cutting speed. This phase made it possible to reach the diameter of the holes to be machined with dimensional accuracies in the 1/100-millimeter range and the corresponding surface roughness.
8. Disassembly of the machine (only 20 Minutes)
After machining the disassembly operations of the machine were carried out: first, the power supply was switched off to work in safe conditions. The tool holder was then removed and the boring bar as well. Finally, the machine was removed with the appropriate key on the threaded ring and finally the holders were removed as well.
Achieved results
At the end of machining, after having completed the repair of the holes, the diameters of the holes and the roughness were measured. The total time for machining four bushings was approx. 236 minutes (less than 4 hours) and allowed the JCB rear excavator to be repaired in short time. Obviously, the processing time is indicative as it may differ depending on the user’s experience.
The final measurements showed a value of 45 mm with H7 tolerance, while the roughness was 3.2 µm.